
Table of Contents
Introduction
If you’re considering installing solar panels on your home or business in Western Australia, understanding how to connect to Western Power’s electricity network is a crucial step in your renewable energy journey. While your solar installer will handle most of the technical aspects and paperwork, knowing what happens behind the scenes can help you better understand timelines, requirements, and potential challenges.
This guide breaks down Western Power’s solar connection process in simple terms, explaining why certain steps are necessary and what to expect along the way from initial application to switching on your new solar system.
Why Permission is Required from Western Power
You might wonder why you need permission from Western Power to install solar panels on your own roof. The reason is straightforward: your solar system doesn’t operate in isolation it becomes part of the broader electricity network.
Grid Safety and Stability
When your solar panels generate electricity, excess power flows back into the grid, which was originally designed for one-way power flow from large power stations to homes and businesses. Western Power needs to ensure this reverse flow won’t:
- Cause voltage issues for you or your neighbours
- Overload local transformers and power lines
- Create safety hazards for network maintenance workers
- Affect the overall stability of the electricity network
Put simply, Western Power needs to verify that your local network can safely handle your solar system’s output before giving the green light.
The Western Power Solar Connection Process: Step-by-Step
1. Initial Application
Your solar installer will submit an application to Western Power on your behalf through their online portal. This typically happens before any physical installation work begins. The application includes:
- Your property details
- The proposed solar system size
- Inverter specifications
- Whether you’ll include battery storage
- Export limit requirements
Timeline: Usually submitted 2-4 weeks before planned installation
2. Technical Assessment
Western Power reviews your application to assess whether your local network can accommodate your solar system. They consider:
- The capacity of local transformers and power lines
- The number of existing solar installations in your area
- Network type (Large or Small as per Western Power’s categories)
- Your connection type (single-phase, three-phase, or split-phase)
Timeline: Typically 5-10 business days for basic residential systems
3. Application Outcome
Western Power will provide one of the following responses:
- Approval: Your system meets all requirements and can proceed
- Conditional Approval: Approval with specific conditions (like reduced export limits)
- Request for More Information: Additional details needed before proceeding
- Rejection: Your proposed system cannot be accommodated (rare for standard residential systems)
4. Installation and Meter Change
Once approved, your installer can proceed with the physical installation. If you don’t have a suitable smart meter, Western Power or your electricity retailer will arrange for a bi-directional meter installation.
Timeline: Meter changes typically occur within 10-15 business days after installation
5. Electrical Inspection and Compliance
After installation, your solar installer will:
- Test the system to ensure it meets all safety requirements
- Submit electrical compliance notices
- Provide Western Power with confirmation that the installed system matches what was approved
6. Final Approval to Operate
Western Power provides the final “approval to operate” once all paperwork is complete and compliance is verified. Only after receiving this approval can your system be switched on and begin generating electricity.
Timeline: Usually within 5 business days after all compliance documentation is submitted
Understanding the Different Types of Solar Connections
Western Power classifies embedded generation (EG) systems the technical term for your solar installation into different categories:
Basic EG Systems (Most Residential Installations)
These are standard residential and small business solar installations:
- Single-phase systems up to 5kVA (approximately 5kW)
- Three-phase systems up to 15kVA (approximately 15kW)
- Systems with batteries (AC or DC coupled)
These systems follow the streamlined process outlined above and typically face fewer hurdles for approval.
Larger Systems (30kW-100kW)
For larger residential or commercial installations (30kW-100kW), additional requirements apply:
- More detailed technical assessments
- Potentially stricter export limitations
- Additional protection requirements
- Possibly network augmentation costs if significant upgrades are needed

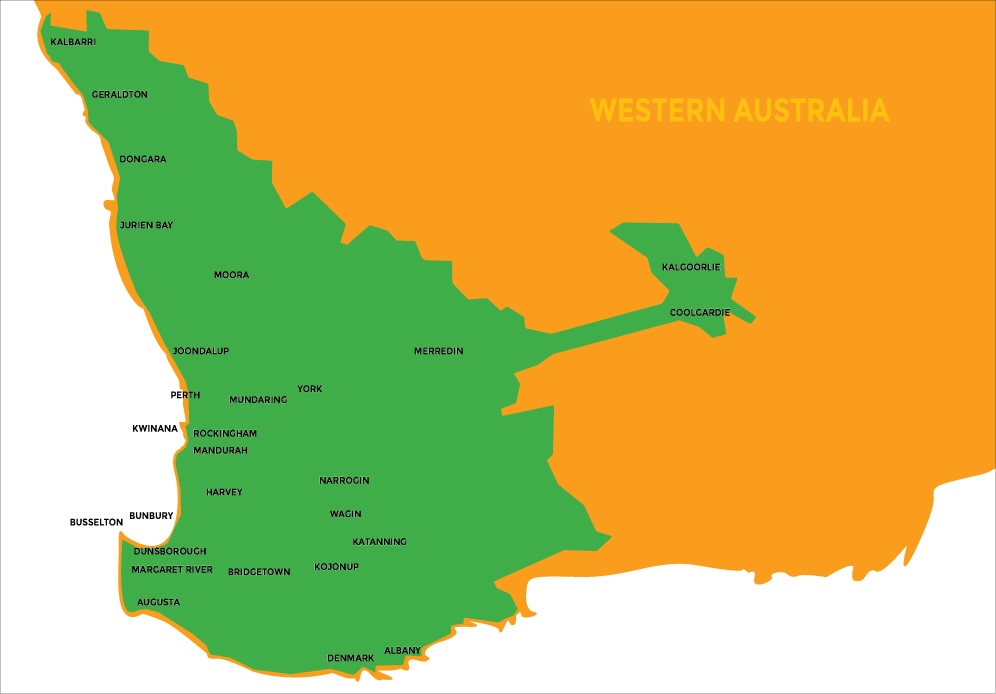
Network Categories and What They Mean for You
Western Power categorises networks into two main types, which affects what size system you can install:
Large Networks
- Most metropolitan areas and country town centres
- Three-phase 415V supply
- Generally allows larger solar systems (up to 5kW for single-phase and 15kW for three-phase connections)
- Typically has higher export limits (up to 5kW)
Small Networks
- Semi-rural and rural areas
- Single-phase 240V or split-phase 480V supply
- More restrictions on system size (often limited to smaller systems)
- Lower export limits (typically 1.5kW to 3kW)
- More likely to require technical reviews before approval
Your location will significantly impact the size of the solar system you can install and how much excess power you can export to the grid.
Understanding Export Limits
An export limit restricts how much excess solar power your system can send back to the grid. Western Power sets these limits to prevent network overload.
Why Export Limits Exist
- Protect network infrastructure from overloading
- Maintain stable voltage for all customers
- Allow more households to install solar without costly network upgrades
Typical Export Limits
- Large Networks: Up to 5kW export limit for most residential systems
- Small Networks: 1.5kW to 3kW export limits depending on network capacity
- No Off-take Agreement: If you don’t have an agreement with your retailer to buy your excess power, the export limit is capped at 1.5kW
It’s important to understand that an export limit doesn’t limit how much power your solar system can produce only how much excess can flow back to the grid. Your home will still use all the solar power it needs before any export occurs.
Metering Requirements and Replacement
Why You Need a New Meter
When you install solar, your existing meter likely needs to be replaced because:
- Standard meters only measure electricity flowing into your home (consumption)
- Solar systems require bi-directional meters that can measure both:
- Electricity you import from the grid
- Excess electricity you export to the grid
The Meter Replacement Process
- Your solar installer or electricity retailer arranges the meter change with Western Power
- Western Power schedules a qualified technician to install the new meter
- The technician replaces your existing meter with a smart bi-directional meter
- Your system cannot be turned on until the new meter is installed and programmed
Why Can't You Use Your Solar System Before the Meter Change?
Without a bi-directional meter:
- Your excess solar power would spin a traditional meter backward (essentially stealing from the grid)
- There would be no way to measure how much power you’re exporting
- The system would not meet Western Power’s technical and safety requirements
The meter also includes crucial safety features that protect both your home and the wider electricity network.
Technical Requirements Made Simple
Western Power has specific technical requirements for solar systems. Here’s what they mean in practical terms:
Inverter Standards
All inverters must comply with Australian Standard AS/NZS 4777.2 and be on the Clean Energy Council’s approved list. These standards ensure your inverter:
- Disconnects safely during power outages
- Maintains proper voltage and frequency
- Won’t cause interference with the grid
Generation Control Functions
Your solar system must include:
- Export limiting: Ensures your system doesn’t export more than allowed
- Volt-watt response: Automatically reduces output if voltage gets too high
- Volt-var response: Helps stabilize grid voltage
DER Management Requirements
For systems installed after February 2022, Western Power requires the ability to remotely disconnect and reconnect your solar system during rare emergency grid situations. This is typically managed through:
- Your smart meter
- Communication devices in your inverter
- A virtual power plant (VPP) provider
This requirement helps Western Power manage the grid during times of extremely high solar generation or network issues.
Battery Energy Storage Systems (BESS)
If you’re adding battery storage to your solar installation, additional requirements apply:
Time of Operation Requirements
Western Power specifies certain operating times for batteries:
- 10am to 3pm: Batteries should not discharge (to avoid adding to midday solar export)
- 6pm to 9pm: Batteries should not charge from the grid (to avoid adding to evening peak demand)
These requirements help manage network load but don’t prevent you from using your battery to power your home at any time.
AC vs. DC Coupled Batteries
The document discusses two ways to connect batteries to your solar system:
- DC Coupled: Battery connects directly to your solar inverter
- AC Coupled: Battery has its own separate inverter
Each configuration has different maximum capacity limits and requirements.
Post-Installation Process
Testing and Commissioning
After installation, your solar installer must:
- Test all safety systems
- Verify export limits are working correctly
- Ensure the system meets all Western Power requirements
- Document all settings and test results
Final Approval to Operate
Western Power gives final approval once:
- All paperwork is correctly submitted
- The system passes all compliance checks
- The proper meter is installed
- Any conditional requirements are met
Only after receiving this approval can your system be legally switched on.
Common Questions and Troubleshooting
How Long Will the Whole Process Take?
For a standard residential system:
- Application to approval: 1-2 weeks
- Installation: 1 day
- Meter change: 10-15 business days
- Final approval to operate: 5 business days
- Total typical timeline: 4-6 weeks from application to operation
Why Might My Application Be Delayed or Rejected?
- Incomplete or incorrect application information
- High concentration of existing solar in your area
- Network capacity constraints
- Undersized transformer or power lines in your area
- Non-standard system configurations
What If My System Size Needs to Be Reduced?
If Western Power determines your network can’t support your desired system size, you have options:
- Install a smaller system
- Accept a lower export limit
- Add battery storage to maximise self-consumption
- Wait for potential future network upgrades
Larger System Considerations (30kW-100kW)
For larger systems up to 100kW, additional considerations apply:
Application Process
- More detailed technical information required
- Longer assessment timeframes
- Possible requirement for network studies
Technical Requirements
- May require central protection systems
- Extended testing and commissioning process
- Potentially higher costs for grid connection
- Possible network augmentation requirements
Connection Options
These systems fall under LV EG (Low Voltage Embedded Generation) requirements rather than Basic EG requirements, with more stringent technical standards and potentially higher costs.
Conclusion and Next Steps
Understanding Western Power’s solar connection process helps set realistic expectations for your solar installation journey. While your solar installer handles most of the paperwork and technical details, being informed about the process can help you:
- Plan appropriate timeframes for your solar installation
- Understand potential limitations before committing
- Know what questions to ask your solar installer
- Make informed decisions about system size and battery storage
By following Western Power’s requirements, you’re contributing to a more stable, reliable electricity network that can accommodate more renewable energy for everyone.
Remember that while the process might seem complex, it’s designed to ensure your solar system operates safely and effectively for years to come.
Glossary of Terms
- Basic EG System: Embedded Generation system for standard residential and small business solar installations
- BESS: Battery Energy Storage System
- Connection Point: The point where your electrical installation connects to Western Power’s network
- DER: Distributed Energy Resources (solar, batteries, etc.)
- Export Limit: Maximum amount of excess power allowed to flow back to the grid
- IES: Inverter Energy System
- kVA: Kilovolt-ampere, a measure of apparent power
- kW: Kilowatt, a measure of real power