If you’re a Northern Territory resident considering solar power for your home or business, understanding the connection process with Power and Water Corporation is essential. While your solar retailer will handle most of the technical aspects and paperwork, knowing what happens behind the scenes can help you track progress and understand any delays.
This guide walks you through the entire connection process, from application to energization, helping you understand what’s happening at each stage and why each step matters.
Table of Contents
Understanding Power and Water's Role in Your Solar Journey
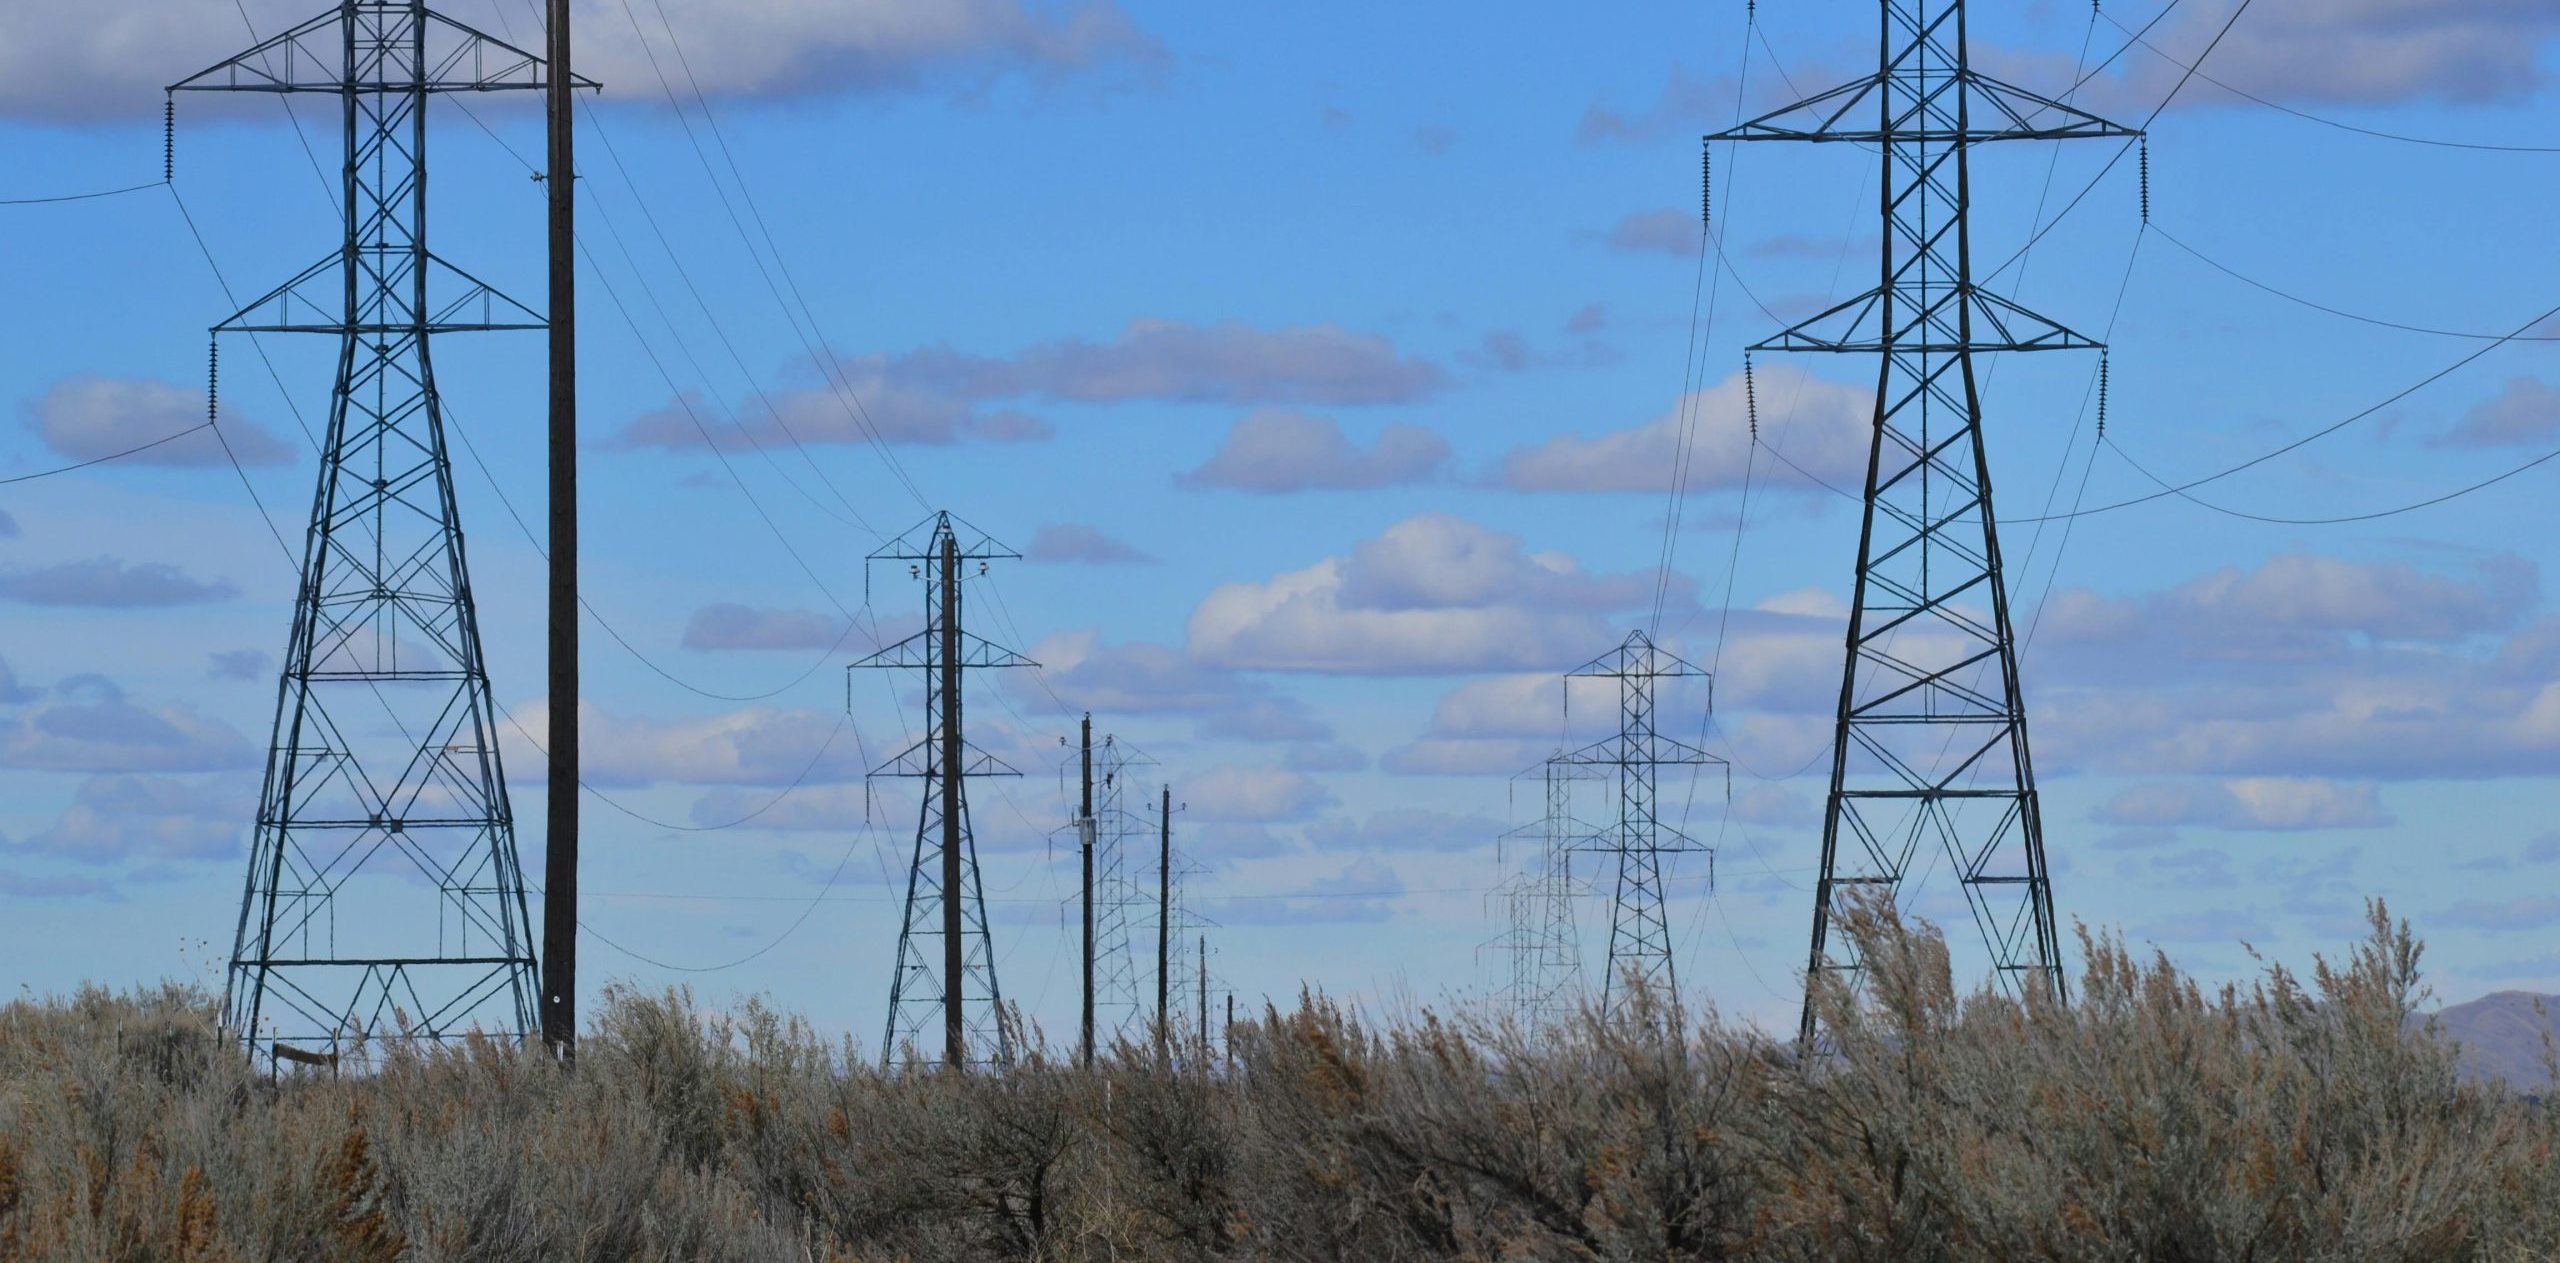
Power and Water Corporation is the Distribution Network Service Provider (DNSP) for the Northern Territory. This means they own and operate the poles, wires, and other infrastructure that delivers electricity to your home.
Before any solar system can be connected to the grid, Power and Water must approve the connection to ensure it won’t negatively impact the safety, reliability, or quality of electricity supply to you or your neighbors.
Northern Territory Regional Classifications
Power and Water divides the Northern Territory into two regional classifications, which affect the connection requirements and processes:
Part A - NT NER Areas
These areas fall under the National Electricity Rules (NER) and have standardized connection processes:
- Darwin (city, suburbs, and surrounding rural areas, including Palmerston, Batchelor, and Adelaide River)
- Katherine (township, suburbs, and surrounding rural areas, including Pine Creek, Larrimah, and Mataranka)
- Tennant Creek (township, suburbs, and surrounding rural areas)
- Alice Springs (city, suburbs, and surrounding rural areas)
Part B - Other Areas
These areas have slightly different connection requirements and may require additional engineering assessments:
- Daly Waters
- Borroloola
- Timber Creek
- Elliott
- Newcastle Waters
- Kings Canyon
- Ti Tree
- Yulara
Important note: For Part A areas, small solar systems (Class 1 and Class 2 PV Systems) are generally pre-approved without requiring detailed engineering assessments. However, the same systems in Part B areas do require engineering assessment before approval.
Solar System Classifications
Power and Water categorizes solar systems by size and capability, with different requirements for each:
Basic Embedded Generation Systems (Class 1 and Class 2)
Size limits: Less than 10kVA single-phase or 30kVA three-phase
These are typical residential and small business systems, further divided into:
- Class 1 PV Systems: Export-enabled systems that can send excess electricity back to the grid (up to 5kVA for single-phase or 7kVA for three-phase connections)
- Class 2 PV Systems: Non-export systems with a “zero export device” that prevents sending electricity to the grid (up to 10kVA for single-phase or 30kVA for three-phase connections)
Negotiated Embedded Generation Systems (Class 3 and Class 4)
- Medium Systems (Class 3): Between 10-30kVA and 200kVA in Darwin or 100kVA in other regions
- Large Systems (Class 4): Between 200kVA (Darwin) or 100kVA (other regions) and less than 2MW
Large Embedded Generation Systems
- Systems larger than 2MW connected to the distribution network
- These follow a more complex connection process under Chapter 5.3A of the NT National Electricity Rules
The Connection Process for Residential Solar (Class 1 and Class 2)
Most residential solar installations fall under Basic Embedded Generation Systems. Here’s the step-by-step process:
1. Initial Planning
Your solar retailer will assess your electricity usage, roof space, and recommend an appropriate system size. They’ll also check if your proposed system meets Power and Water’s requirements for your location.
2. Application Submission
Your solar installer will submit a Basic Connection Application form to Power and Water on your behalf. This typically includes:
- Your contact and property details
- System specifications (inverter type, panel details, system size)
- Signed “Notice of Intention” forms
- Single-line wiring diagrams
- Embedded generation notice
For most residential systems, this application is processed through an “expedited” connection process, which means you automatically accept Power and Water’s standard terms and conditions.
3. Application Assessment
Power and Water will assess your application to ensure:
- The system size is appropriate for your connection
- The equipment complies with Australian Standards
- The connection won’t adversely affect network stability
- The installer holds proper accreditation
For Class 1 and Class 2 systems in Part A regions, this assessment is typically pre-approved. For systems in Part B regions, an engineering assessment is required, which may take additional time.
4. Approval and Installation
Once approved, your solar installer will receive notification and can proceed with installation. The installation must:
- Be performed by a Clean Energy Council accredited installer
- Comply with all relevant Australian Standards (AS/NZS 4777 for grid connection and AS/NZS 5033 for installation)
- Include appropriate signage and safety devices
5. Meter Upgrade
Why you need a new meter: Your existing electricity meter likely only measures electricity flowing into your home. For solar, you need a bi-directional “Embedded Generator Meter” that measures both:
- Electricity you import from the grid
- Excess electricity your solar system exports to the grid
Important note: Your system cannot be turned on until the meter upgrade is complete. Operating a solar system without the proper metering is not permitted and could result in estimation of your consumption.
The meter upgrade process:
- After installation, your solar retailer submits a Certificate of Compliance to Power and Water
- Power and Water or your retailer arranges for a meter installer to replace your meter
- This typically takes 5-10 business days but can take longer in busy periods
6. System Energization and Final Inspection
Once the new meter is installed, your system can be turned on. Power and Water may conduct an inspection to ensure everything meets requirements.
Understanding the Process for Larger Systems (30kVA to 100kW)
For commercial systems or larger residential installations, the process becomes more complex:
1. Pre-Feasibility Enquiry (Recommended)
For systems over 30kVA, Power and Water recommends submitting a pre-feasibility enquiry before making a formal application. This helps identify potential issues early and sets reasonable expectations.
2. Detailed Application
Your installer will submit a Negotiated Connection Application with:
- System design information
- Single-line diagrams
- Protection system details
- Payment of application fees
3. Technical Assessment
Power and Water conducts a more detailed assessment, considering:
- Network capacity at your location
- Potential impacts on voltage and power quality
- Protection systems required
- Compliance with technical standards
For systems over 100kVA, system strength impact assessments may be required.
4. Connection Offer
You’ll receive a formal Connection Offer outlining:
- Connection charges and fees
- Technical requirements
- Construction timeline
- Any network augmentation needed
This offer is valid for 20 business days and requires your formal acceptance.
5. Installation and Commissioning
Installation proceeds as with smaller systems, but with additional commissioning tests and documentation requirements.
6. Final Connection and Registration
For systems over certain thresholds, additional operating protocols with the System Controller may be required.
Common Questions and Concerns
Why can't I just install solar without Power and Water's approval?
The electricity grid was designed for one-way power flow. Solar systems introduce two-way flow that can affect voltage levels, protection systems, and overall grid stability. Power and Water needs to ensure your system won’t cause issues.
Why does the meter need to be replaced?
Standard meters only measure electricity flowing to your property. A bi-directional meter measures both import and export, ensuring you receive credit for excess electricity your solar system sends to the grid.
How long does the whole process take?
For standard residential systems (Class 1 and 2):
- Application approval: Typically 5-20 business days
- Installation: 1-3 days (depends on system size and complexity)
- Meter change: Usually 5-10 business days after Certificate of Compliance is received
- Total time: Generally 3-6 weeks from application to operating system
Can I turn on my system before the meter change?
No. Operating your solar system before the meter change could result in:
- Incorrect billing
- Potential safety issues
- Breach of connection agreement
- No credit for exported electricity
Will I need to pay for the meter upgrade?
Yes, there is typically a fee for the meter upgrade. This is either billed directly to you or may be included in your solar installation package. Check with your installer about who pays this cost.
The Legal Framework
Power and Water’s connection requirements are based on:
- NT National Electricity Rules (NT NER)
- Network Technical Code and Planning Criteria
- Electricity Reform (Safety and Technical) Regulations 2000
- Australian Standards (particularly AS/NZS 4777 and AS/NZS 5033)
These regulations ensure all solar installations are safe, reliable, and compatible with the electricity network.
Key Takeaways
- Know your region: Are you in a Part A or Part B area? This affects your application process.
- Understand your system class: Class 1 (export) or Class 2 (non-export) have different requirements.
- Let professionals handle paperwork: Your solar retailer should manage the application process.
- Be patient with metering: The meter change is a crucial step that takes time.
- Don’t energize early: Wait until your new meter is installed before turning on your system.
By understanding these steps, you’ll have clearer expectations of the solar installation process and be better equipped to track your installation’s progress. While your solar installer will handle most of these details, being informed helps you advocate for yourself if any issues arise.
Remember, the specific details and timeframes may change as Power and Water updates its processes, so always confirm current requirements with your solar installer.


