
Table of Contents
Introduction
Congratulations on deciding to install a solar system in your Australian home! This guide is designed to walk you through the entire installation process, ensuring you know what to expect from start to finish. By understanding each stage from initial assessments to post-installation maintenance you can approach your solar installation with confidence and clarity.
Initial Considerations
Before the installation begins, it’s essential to evaluate your property’s suitability and comprehend your energy requirements.
Assessing Property Suitability
Several factors determine whether your property is ideal for solar panels:
- Roof Type: Sloped roofs are generally more suitable for solar installations due to their larger surface area and ease of access. Most Australian roofs have a pitch between 15° and 22.5°, which is optimal for solar panel placement.
- Orientation: North-facing roofs receive the most direct sunlight in Australia, making them ideal for maximising solar energy capture. East and west-facing roofs can also be effective but may yield slightly lower energy production.
- Shading: Trees, buildings, or other obstructions that cast shadows on your roof can significantly reduce solar panel efficiency. It’s important to assess and, if possible, mitigate shading issues before installation.
Understanding Energy Needs
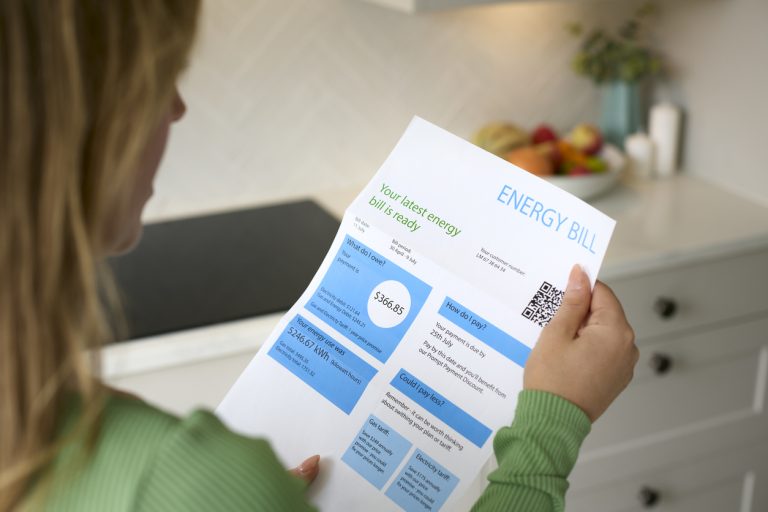
Evaluating your current energy consumption is essential to determine the appropriate size of your solar system. Review your electricity bills to identify your average daily and annual energy usage. This analysis helps in selecting a system that can meet your energy demands and potentially offset your entire electricity bill.
Site Assessment and Energy Needs Analysis
A thorough site assessment and energy needs analysis are foundational steps in the solar installation process.
Property Assessment
A solar expert will conduct a detailed evaluation of your property to assess its solar potential. This includes examining:
- Roof Condition: Ensuring your roof is in good condition and can support the weight of solar panels.
- Sunlight Exposure: Analyzing the amount of sunlight your roof receives throughout the year to optimize panel placement.
- Structural Integrity: Confirming that your roof structure can accommodate the installation without requiring significant modifications.
Shading Analysis
Identifying and addressing shading issues is crucial for maintaining system efficiency. A shading analysis will pinpoint areas where shadows may impact panel performance and help determine the best placement to minimize their effects.
Energy Consumption Analysis
By reviewing your electricity bills, a solar installer can calculate your average energy usage. This data is vital for designing a system that adequately meets your needs and maximises your investment.

System Design and Permitting
With the site assessment and energy analysis complete, the next steps involve designing the solar system and obtaining the necessary permits.
System Layout
Designing an optimal system layout involves determining the best arrangement for panels to maximise sunlight exposure. Factors such as roof angle, orientation, and available space are considered to ensure efficient energy capture.
- Panel Placement: Ensuring panels are positioned to avoid shading and are aligned correctly to capture maximum sunlight.
- Inverter Location: Selecting an appropriate location for the inverter, typically on a shaded external wall or in a garage, close to the main electrical panel for efficient connection.

Permitting Process
Securing the necessary permits and approvals is a critical step that varies by state and territory:
- Electrical Permit: Required to ensure the installation complies with electrical safety codes.
- Building Permit: Necessary for structural modifications or complex installations.
- Grid Connection Approval: Obtained from your electricity distributor to connect your solar system to the grid, allowing you to feed excess energy back and benefit from feed-in tariffs.
Navigating the permitting process can be intricate, as requirements differ across Australian states and territories. Your solar installer should assist in obtaining these permits, ensuring all regulatory standards are met.
Panel Mounting and Electrical Connections
With the design finalised and permits secured, the physical installation of the solar panels begins.
Installation Methods
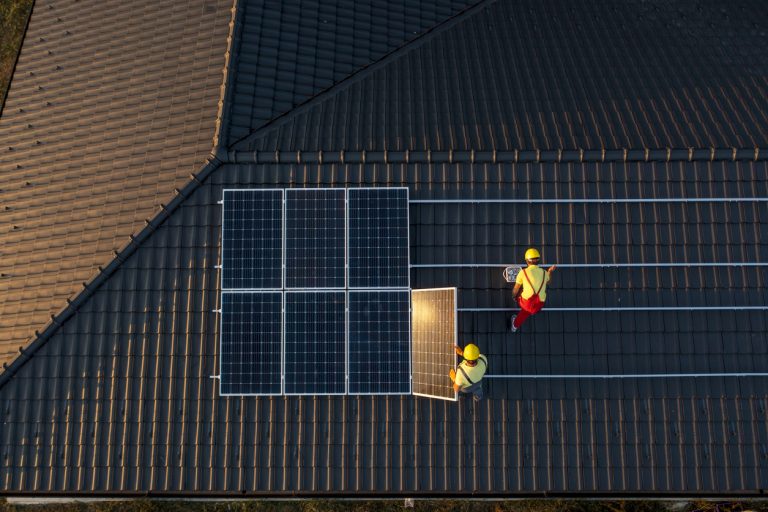
For residential installations, roof-mounted systems are the most common due to their practicality and efficiency.
- Roof-Mounted Systems: Panels are securely attached to mounting brackets on your roof. The installation process ensures that panels are angled correctly to capture maximum sunlight and are firmly fixed to withstand weather conditions.
Electrical Setup
Connecting the panels to the electrical system involves several key steps:
- Panel Wiring: Panels are wired in series or parallel configurations to generate the required voltage and current.
- Inverter Installation: The inverter is connected to the solar panels and mounted in a shaded area, such as an external wall or garage, close to the main electrical panel.
- Main Electrical Panel Connection: The inverter is linked to your home’s main electrical panel, allowing solar-generated electricity to be used throughout your home.
Safety Standards
Ensuring compliance with Australian electrical codes and safety regulations is paramount. Proper grounding and the installation of safety devices like circuit breakers are essential for protecting your system and home.
Installation Day Activities
The day of installation is a significant milestone in your solar journey. Here’s what to expect:
What Happens on Installation Day
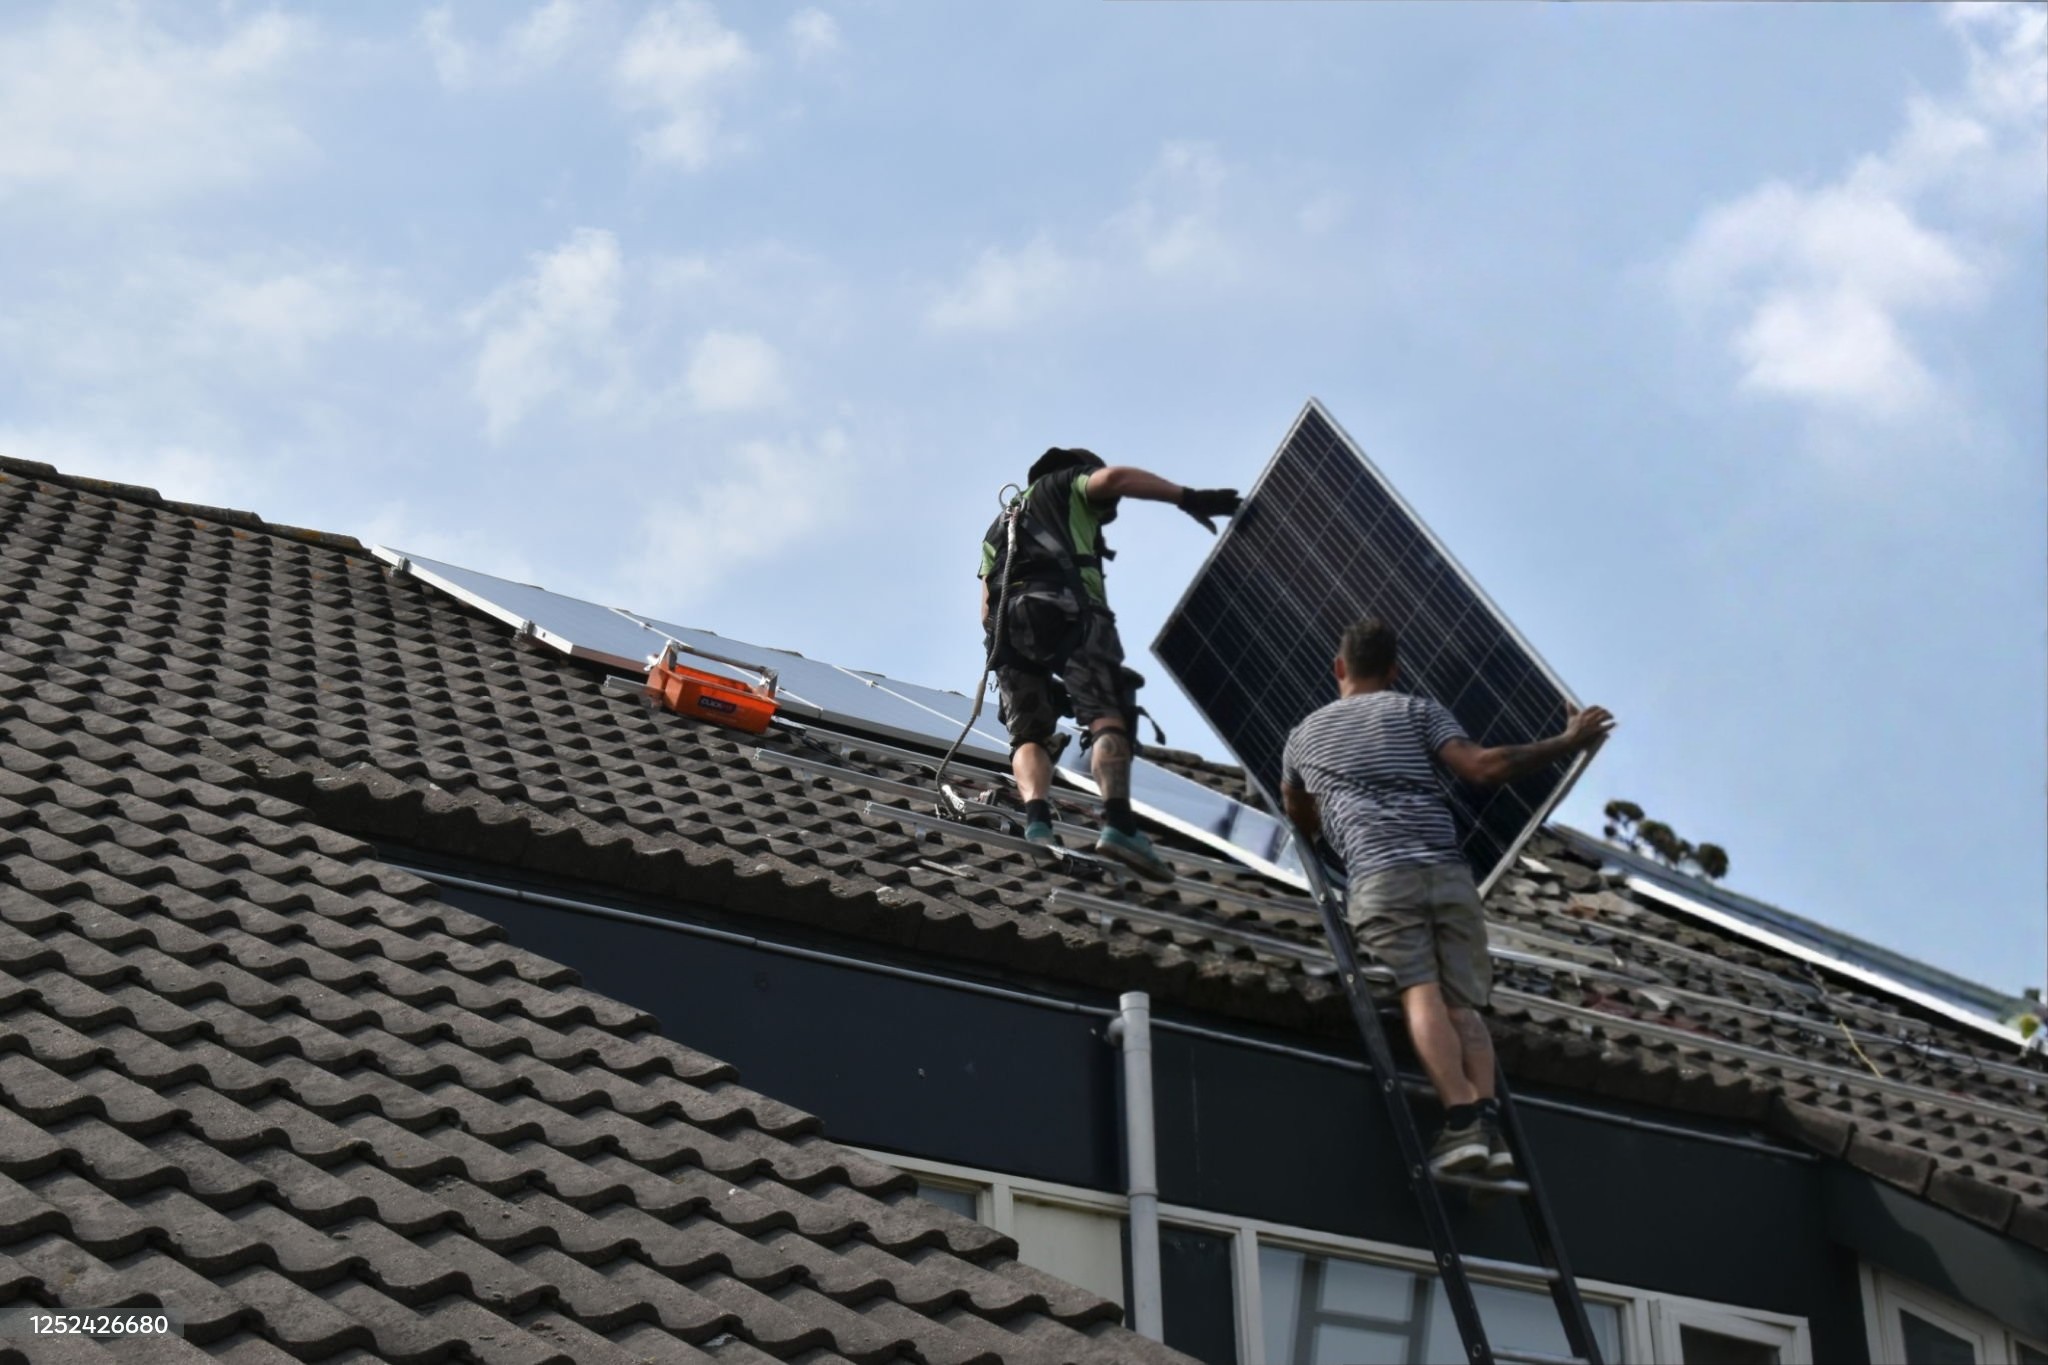
- Arrival of Installers: Accredited solar installers arrive at your property, equipped with all necessary materials.
- Mounting Framework: Installers secure the mounting brackets to your roof, ensuring they are properly aligned and fixed.
- Panel Installation: Solar panels are attached to the mounting framework, ensuring they are level and securely fastened.
- Electrical Connections: Installers wire the panels to the inverter and connect the inverter to your home’s electrical system.
- Paperwork and System Demonstration: Upon completion, installers provide relevant documentation and demonstrate how to use the monitoring system.
Homeowner Preparations
To facilitate a smooth installation process, homeowners should:
- Ensure Access: Provide clear access to the roof and electrical panel.
- Be Present: While not mandatory, being present allows you to oversee the installation and ask any questions.
- Prepare for Safety: Remove any obstacles that might impede the installers and ensure pets are secured away from the installation area.
System Testing and Commissioning
After the physical installation, the system undergoes rigorous testing to ensure it operates correctly and safely.
Inspections
Licensed electricians inspect all electrical connections and wiring to verify compliance with safety standards.
Grid Connection
Connecting your solar system to the grid is a crucial step that enables you to utilise solar energy and potentially earn credits through feed-in tariffs. However, this process can sometimes lead to delays:
- Energy Meter Installation: Your system cannot be legally turned on until your utility provider installs a new energy meter or reconfigures your existing one. This step is essential for accurately measuring energy production and consumption.
- Potential Delays: Scheduling with the utility provider can sometimes be delayed, causing frustration. It’s important to coordinate closely with both your solar installer and the utility company to expedite this process.
- Cost Considerations: If the energy meter installation isn’t included in your installation quote, there may be additional costs, typically around $300, which can vary based on your location and electricity retailer.
Understanding that the grid connection process is often outside the solar installer’s control can help manage expectations and reduce potential misunderstandings.
Monitoring Setup
If your system includes a monitoring app, installers will configure it, providing you with real-time data on your system’s performance. This allows you to track energy production and identify any issues promptly.
Post-Installation Considerations
Once the system is operational, several important tasks and considerations follow.
Documentation
Keeping comprehensive documentation is essential for future reference and warranty purposes. Essential documents include:
- System Specifications: Details of the installed components.
- Warranties: Information on manufacturer and installer warranties.
- Maintenance Guidelines: Instructions for system upkeep.
- Safety Procedures: Steps to safely shut down and isolate the system if needed.
Understanding Warranties and Maintenance
Familiarise yourself with the warranties provided for both the solar panels and the installation work. Regular maintenance, such as cleaning panels and inspecting connections, ensures the system remains efficient and extends its lifespan.
Troubleshooting Common Issues
Being aware of common system issues, such as reduced panel efficiency or inverter malfunctions, allows for timely troubleshooting and minimal downtime. Monitoring systems can alert you to potential problems, enabling swift corrective actions.
Ongoing Maintenance and Monitoring
Maintaining your solar system is crucial for sustaining its performance and maximizing your investment.
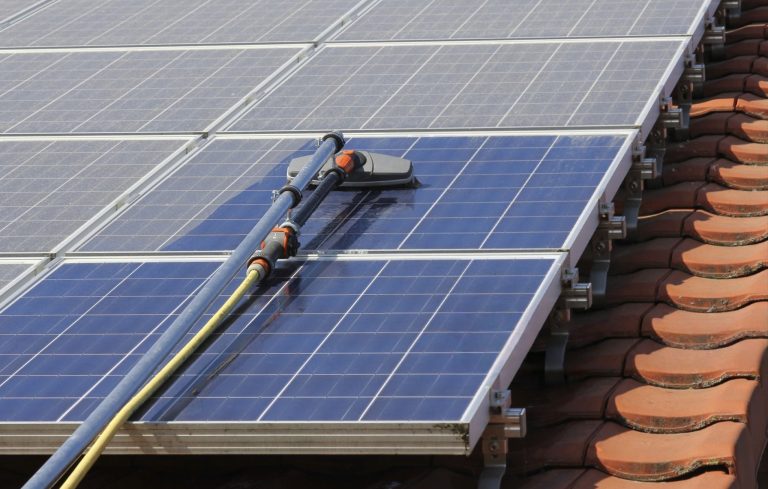
Regular Maintenance
- Cleaning Panels: Remove dust, debris, and other obstructions from panels to maintain their efficiency. Depending on your location and environment, cleaning may be required every six months to a year.
- Visual Inspections: Periodically check for any physical damage to panels, mounting hardware, or wiring.
Performance Monitoring
Utilise the monitoring system or app to track your solar system’s performance. Monitoring allows you to:
- Track Energy Production: Understand how much energy your system generates daily, monthly, and annually.
- Identify Efficiency Drops: Quickly spot any declines in performance that may indicate maintenance needs.
- Optimise Energy Usage: Adjust your energy consumption habits based on production data to maximize savings.
Conclusion
Installing a residential solar system in Australia is a strategic investment that offers numerous benefits, from financial savings to environmental sustainability. By understanding each step of the installation process from initial assessments to ongoing maintenance you can make informed decisions and ensure a successful transition to solar energy. Staying proactive in managing your solar system will help you maximize its efficiency and longevity, providing long-term value for your home and contributing to a greener future.